How to Deploy a Connector on a QNAP NAS
Install a Connector on a QNAP NAS device to enable remote access to your network
QNAP NAS devices, despite their name (“network attached storage”) aren’t only for adding shared storage on a network. QNAP NAS devices are actually servers that can provide a variety of different services beyond file sharing - and this includes hosting a Twingate Connector!
Installing a Twingate Connector on a QNAP NAS allows you to make the NAS, and any other device on the same network (e.g. computers, webcams, network-connected printers), remotely accessible in a manner that is more secure and easy than other options, like setting up a VPN server or port forwarding on a router.
QNAP devices run on an operating system called QTS, which is based on Linux. Let’s cover how to install and provision a Connector on QTS and grant remote access to NextCloud (a popular open-source file sharing and collaboration platform that can be hosted on the NAS).
Prerequisites
-
Twingate account (our Starter plan is free for small projects)
-
QNAP device setup and configured, see QNAP’s getting started guide
-
Container Station deployed and setup on QNAP
-
NextCloud deployed to QNAP using Container Station, see the guide here
Twingate configuration
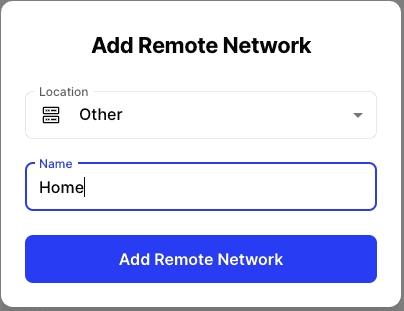
Before we deploy the Connector to the QNAP, we need to create a new Twingate Remote Network. Let’s call it “Home” (pick “On Premise” or “Other” for the location parameter).
You will see two Connectors created by default in this new Remote Network. Click on Deploy Connector on one of these Connectors to obtain the configuration for our Docker deployment:
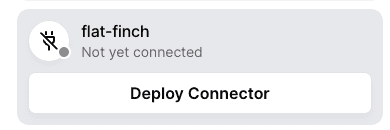
We will be deploying the standard Twingate Connector Docker container to the QNAP, so you can leave the default option selected.
Scroll down and click on Generate Tokens. You will need to re-authenticate before seeing the tokens.
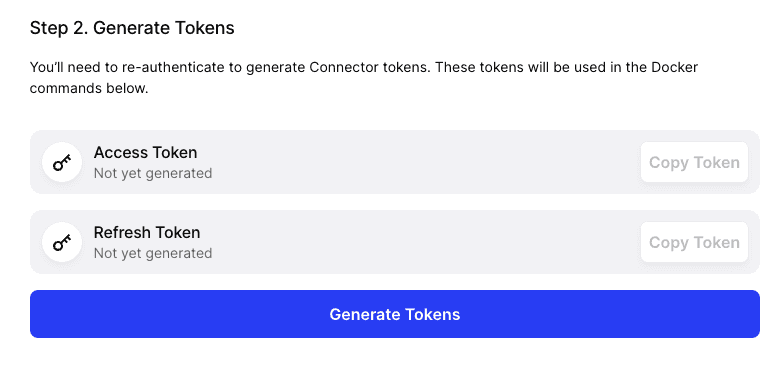
Scroll down to the bottom of the page and copy the docker run command to a text editor as we will need to use some of these values in the Docker container setup on the QNAP side. You can leave this page open while you deploy the Connector.
Deploy a Connector
Login to your QNAP device and open Container Station; within it, create the Twingate container by clicking the Create button and searching for “Twingate”:

Once you have located the twingate/connector image, click Install; then select latest as the image version:
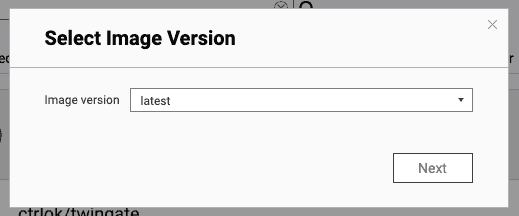
In the next screen, use the Connector name in the Name setting. Set CPU & Memory Limit to your desired value (and depending on the physical resources available on your particular QNAP device).
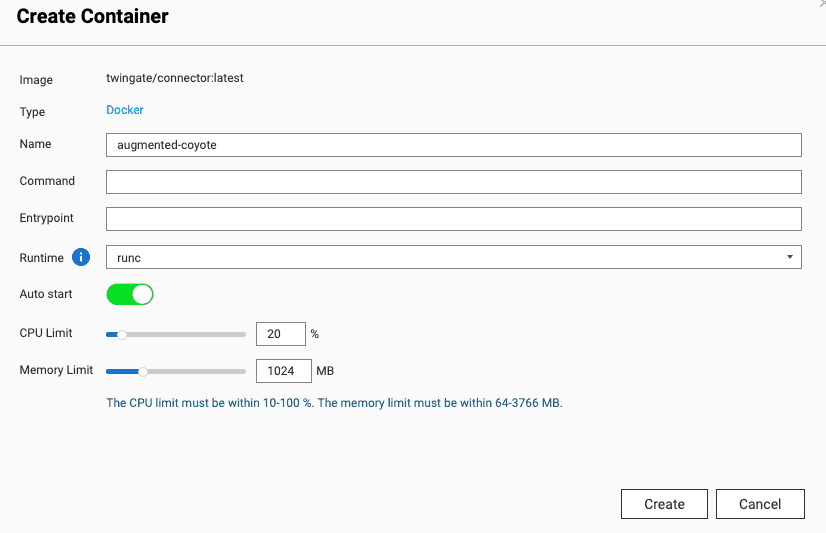
Next, click Advanced Settings at the bottom of the page. This is where we will be configuring the settings required to connect and authenticate the Connector with Twingate:
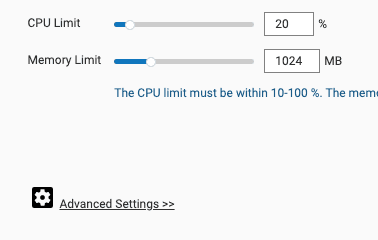
From within the advanced settings, go to the Environment section.

Add three of the environment variables from the docker run command retrieved previously:
TWINGATE_NETWORKTWINGATE_ACCESS_TOKENTWINGATE_REFRESH_TOKEN

Next, click on Network. Below is an example of a network configuration, which you may want to alter depending on your setup and requirements. The hostname can be whatever you like, and as an example we will use the Connector name as the hostname:
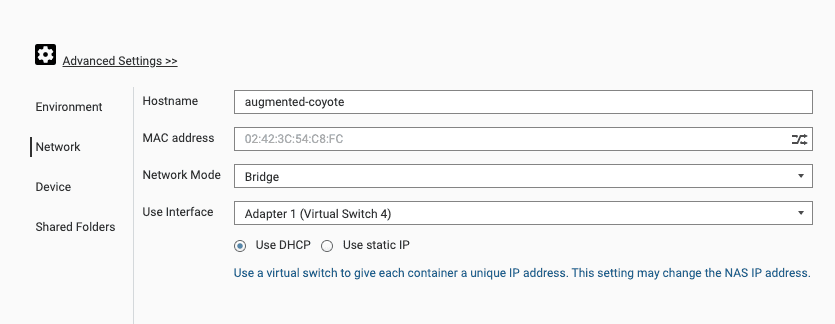
This concludes the configuration part. Click the continue and OK button to spin up the container.
Run the container
With all the settings now in place, Container Station downloads the Connector image and sets it up on the QNAP device:
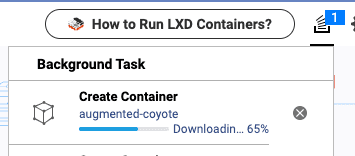
After a few moments, the container starts running:

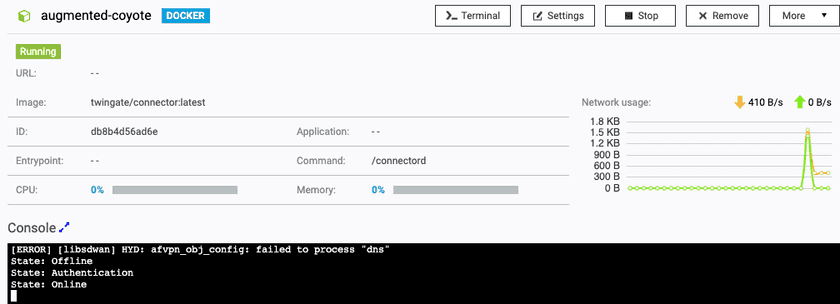
If you click on the container you should see that it has started and the Connector within it successfully authenticated with Twingate:
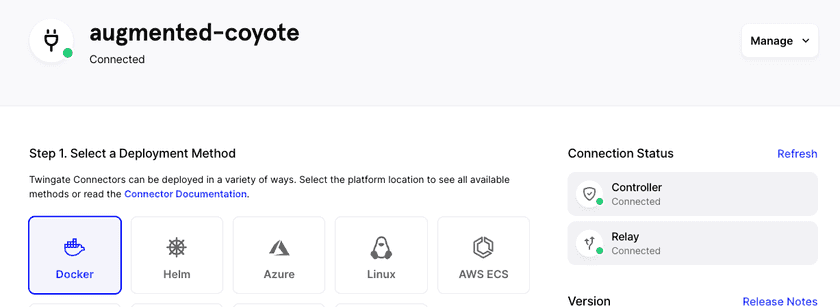
Head back over to your Twingate Admin Console, and you should see that the Connector is now connected:
Now that we have a connection into the network, we need to add NextCloud as a Resource in Twingate. From the Twingate Admin Console, navigate to your Remote Network and add a Resource. Give this Resource a name and the internal IP address of your NextCloud installation:
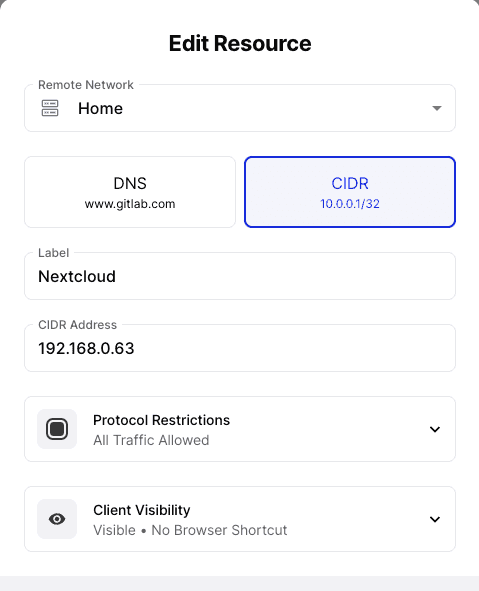
(For the purpose of this guide no other restrictions have been applied but consider restricting ports for additional security).
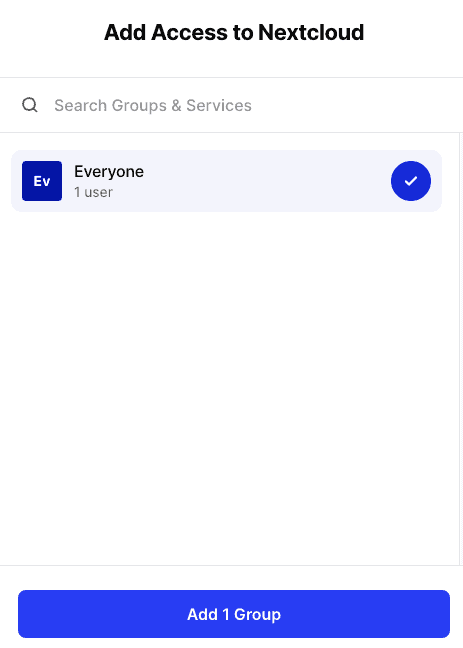
Once the Resource is declared, make it available to one or more Twingate Groups:
Download the Twingate Client
Now, all that is needed is the Twingate Client installed on a device (Installers are available here).
Access NextCloud Remotely
Let’s test remote access from a mobile device. In this guide, we will use a 4G connection on a Google Pixel phone.
Login with the Twingate app on the Android device; once authenticated, the list of available Resources will be displayed:

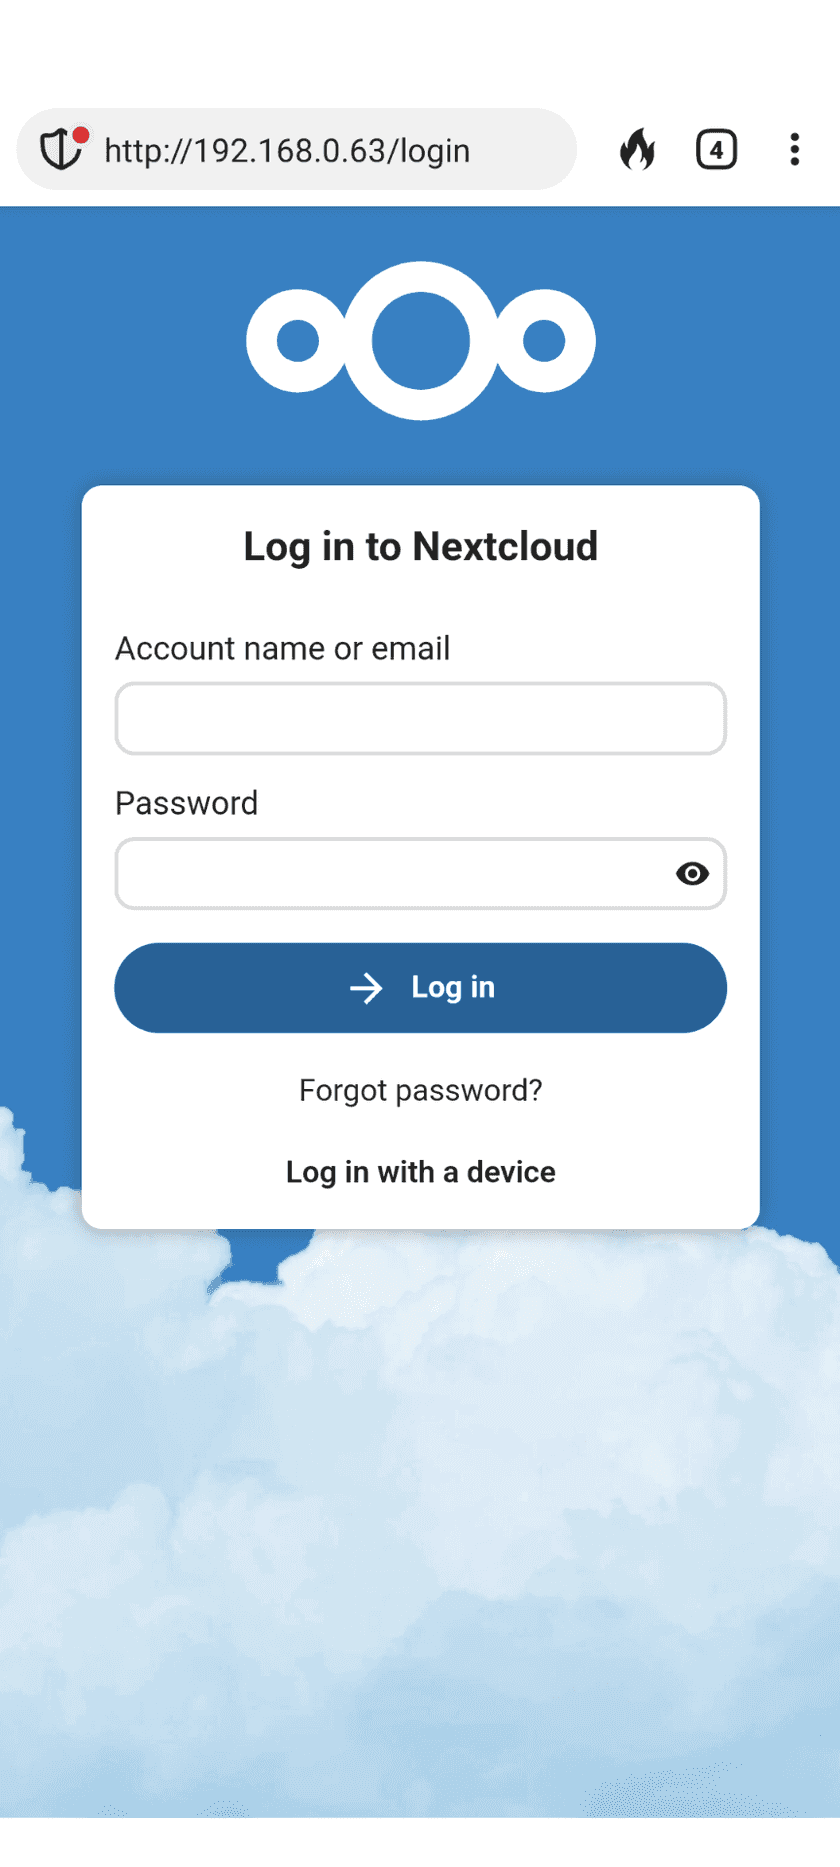
Let’s use the IP address of the NextCloud service and open it in a chosen web browser on the mobile device:
Add additional users
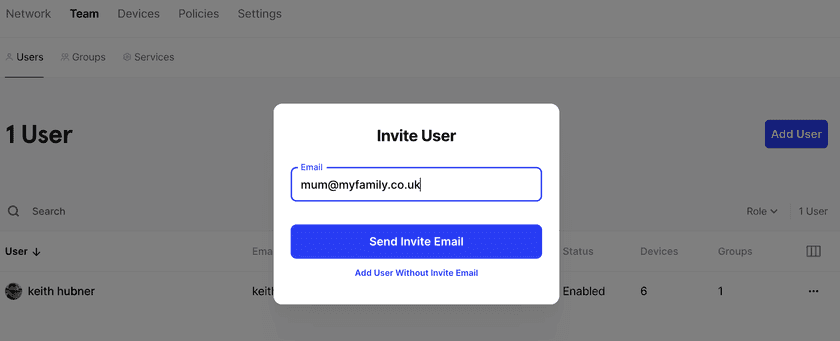
We can invite other users to access our Resource. This is done via the Twingate Admin Console, under Team:
Last updated 6 months ago