OneLogin Configuration
Business & Enterprise only
Note that our OneLogin integration is limited to the Business and Enterprise product plans. See our pricing page for more information.
Background
Twingate integrates with OneLogin in order to both synchronize user accounts and delegate user authentication to OneLogin. Only users that are assigned to the OneLogin Twingate application will be able to use Twingate and access private resources.
Twingate delegates the following functions to OneLogin via the OneLogin Twingate application:
- User authentication via OpenID Connect
- User and group synchronization via SCIM
When activating your Twingate account with OneLogin, you will need to set up an Authentication Policy with the credentials from the OneLogin Twingate application. You can configure what OneLogin security policies apply to users of the Twingate client application via this OneLogin Twingate application.
Social Logins Deletion
When activating any of the enterprise identity provider options, all users signing in via social logins will be deleted. The option to invite individual users through a social login will also be removed. You can contact Twingate support if you would like to re-activate this feature in the future.
Steps to configure the OneLogin Twingate integration
- Create and configure the Twingate application in the OneLogin Admin console
- Complete and validate the integration configuration in the Twingate Admin console
Supported Features
Currently we support Service Provider Initiated (SP-Initiated) SSO via OpenID Connect (OIDC), and SCIM for user and group sync.
Requirements
- OneLogin OIDC integration is supported for Twingate customers on the Business and Enterprise plans.
- User synchronization uses SCIM, which requires OneLogin’s Unlimited Plan. See OneLogin’s documentation for more details.
Setting up the OneLogin Twingate application
1. Under the Applications page, click on Add App at the to right corner.

2. Search for Twingate, and then select the Twingate application.

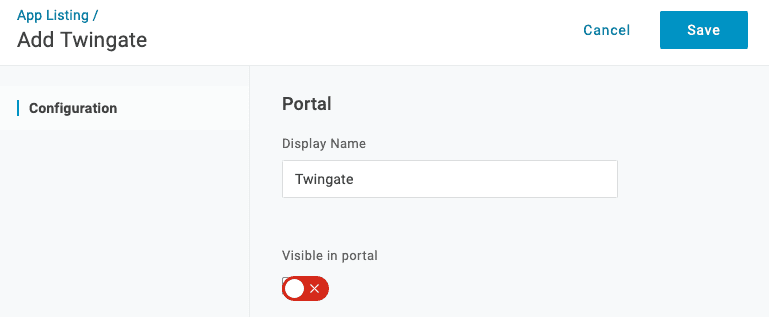
3. We recommend that you disable the “Visible in portal” toggle (shown below) to hide Twingate in your users’ OneLogin portal. This is because users can only authenticate when starting their session directly from the Twingate Client application on their device.
Then click Save.

4. Assign access to the Twingate application using OneLogin roles.
Suggestion
OneLogin grants access to application using roles. All OneLogin users belong to the “Default” role, so you can assign the Twingate application to the Default role to quickly test the integration. However, we recommend that you create a OneLogin role, eg. “Admins”, which you belong to and add it to the OneLogin Twingate application. In the future, if you want to remove the Default role and assign more granular roles to the app, you won’t lose access to the application and be unable to log in Twingate.
Warning
When you click Save, OneLogin might show an error saying ”SCIM Base URL cannot be blank” and prevent you from saving. This is a known issue with OneLogin UI. To resolve this, you need to navigate to the Configuration tab, enter https://twingate.com and click Save to silence this unnecessary validation. We’ll go through how to setup SCIM integration with Twingate later on in this guide.

Completing the OneLogin integration in Twingate
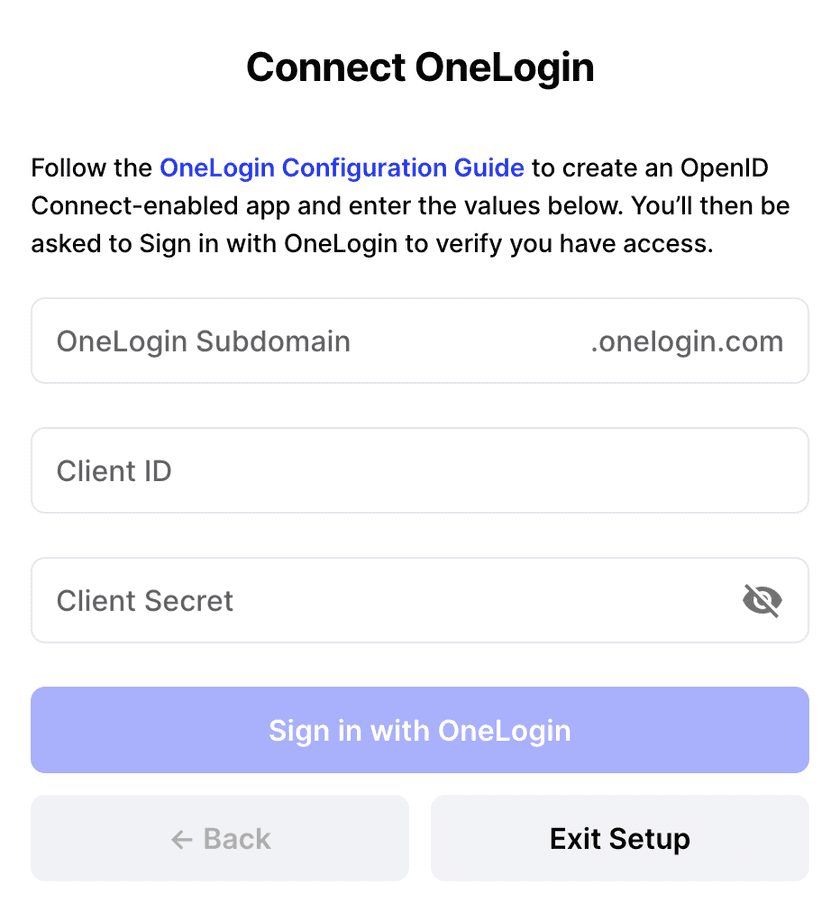
When activating the OneLogin integration in the Twingate Admin console, you will be presented with the screen below.

- For the OneLogin Subdomain, you can inspect the URL you use to access the OneLogin Admin Dashboard. Alternatively, in the OneLogin Admin Dashboard, navigate to the Settings > Branding page. Under the Brand section, you will see your OneLogin subdomain.
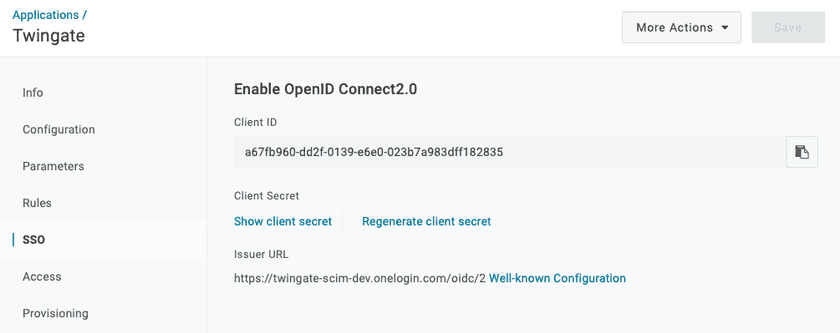
- For the Client ID and Client Secret, copy these values from the SSO tab of the Twingate application you created in OneLogin.

In Twingate, you’ll be asked to sign in with OneLogin to make sure the credentials are entered correctly. Follow the wizard to complete the activation of the OneLogin integration.
Configuring SCIM for user & group synchronization
Complete the configuration process by setting up SCIM for user and group sync between OneLogin and Twingate.
→ Configure SCIM for user & group sync
Last updated 6 months ago