Remotely Access a NAS Device
Small businesses and homes commonly have Network Attached Storage (NAS) devices that are used to store files and make them accessible to devices locally connected on the same network.
A typical solution to make NAS devices remotely accessible (to someone not on the network) is to set up port forwarding on your network router. Unfortunately, this comes with two major problems:
- It exposes the NAS directly to the internet and makes it a target for attackers.
- If your internet service provider allocates you a dynamic IP address when you connect (an IP address that changes from time to time), which is something common for home ISPs, you need to figure out what that address is each time you need to connect to your NAS, or setup a dynamic DNS service.
With Twingate, you can easily make your NAS accessible without the two problems above. Twingate does not expose your network to the public internet, and you are able to access the NAS using the same IP address that you’d use if you were locally connected to the same network (an IP address that is under your control).
The basic steps for doing this are:
1. In your Twingate account, add a new Remote Network and give it a name like “Office Network” or “Home Network”.
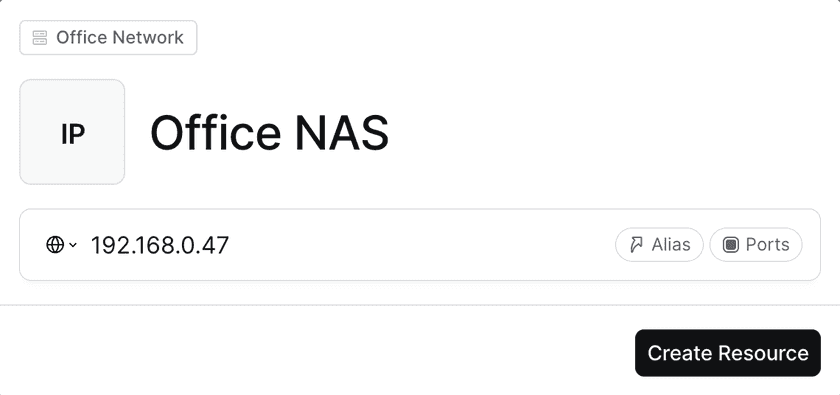
2. Add your NAS as a resource on that network by specifying its IP address (typically something that begins with 192.168. or 10.)

3. Add a connector to the new Remote Network by clicking on “Add connector” in the details page for that Remote Network.
4. Click “Provision” next to the new connector. You will be required to re-authenticate to complete this action.
5. The next step is to install the connector on a device on your network. Follow the instructions in your Twingate account to do so. You may be able to install a connector on your NAS device, depending on what it supports.
- See here for how to set up a Connector on a Synology NAS device running DSM 6.x or earlier.
- See here for how to set up a Connector on a Synology NAS device running DSM 7.x or later.
- More information on deploying connectors
6. Once the connector has been installed and it is operational, your NAS should now be accessible to authorized users!
7. If you need to restrict access to the NAS, you do this via group management.
8. You can now access your NAS with a device that has a Twingate client installed and is signed into an account that is authorized to access the NAS. The NAS can be reached at the IP address you would use to access it when you are directly connected to the local network it’s on.
Last updated 10 months ago